DC Power Bug

A DIY DC/DC Converter with Eurorack compatible input and provision for a DC Barrel Jack Output. Elk Elektronik has produced a PCB for adapting a generic DC/DC power supply. This kit is not suitable for all applications, so you must ensure that the assembled Power Bug is suitable, the voltage is adjusted appropriately and the DC Jack polarity is correct for your intended application.
Below is a guide for how to assemble and set the voltage for the Power Bug

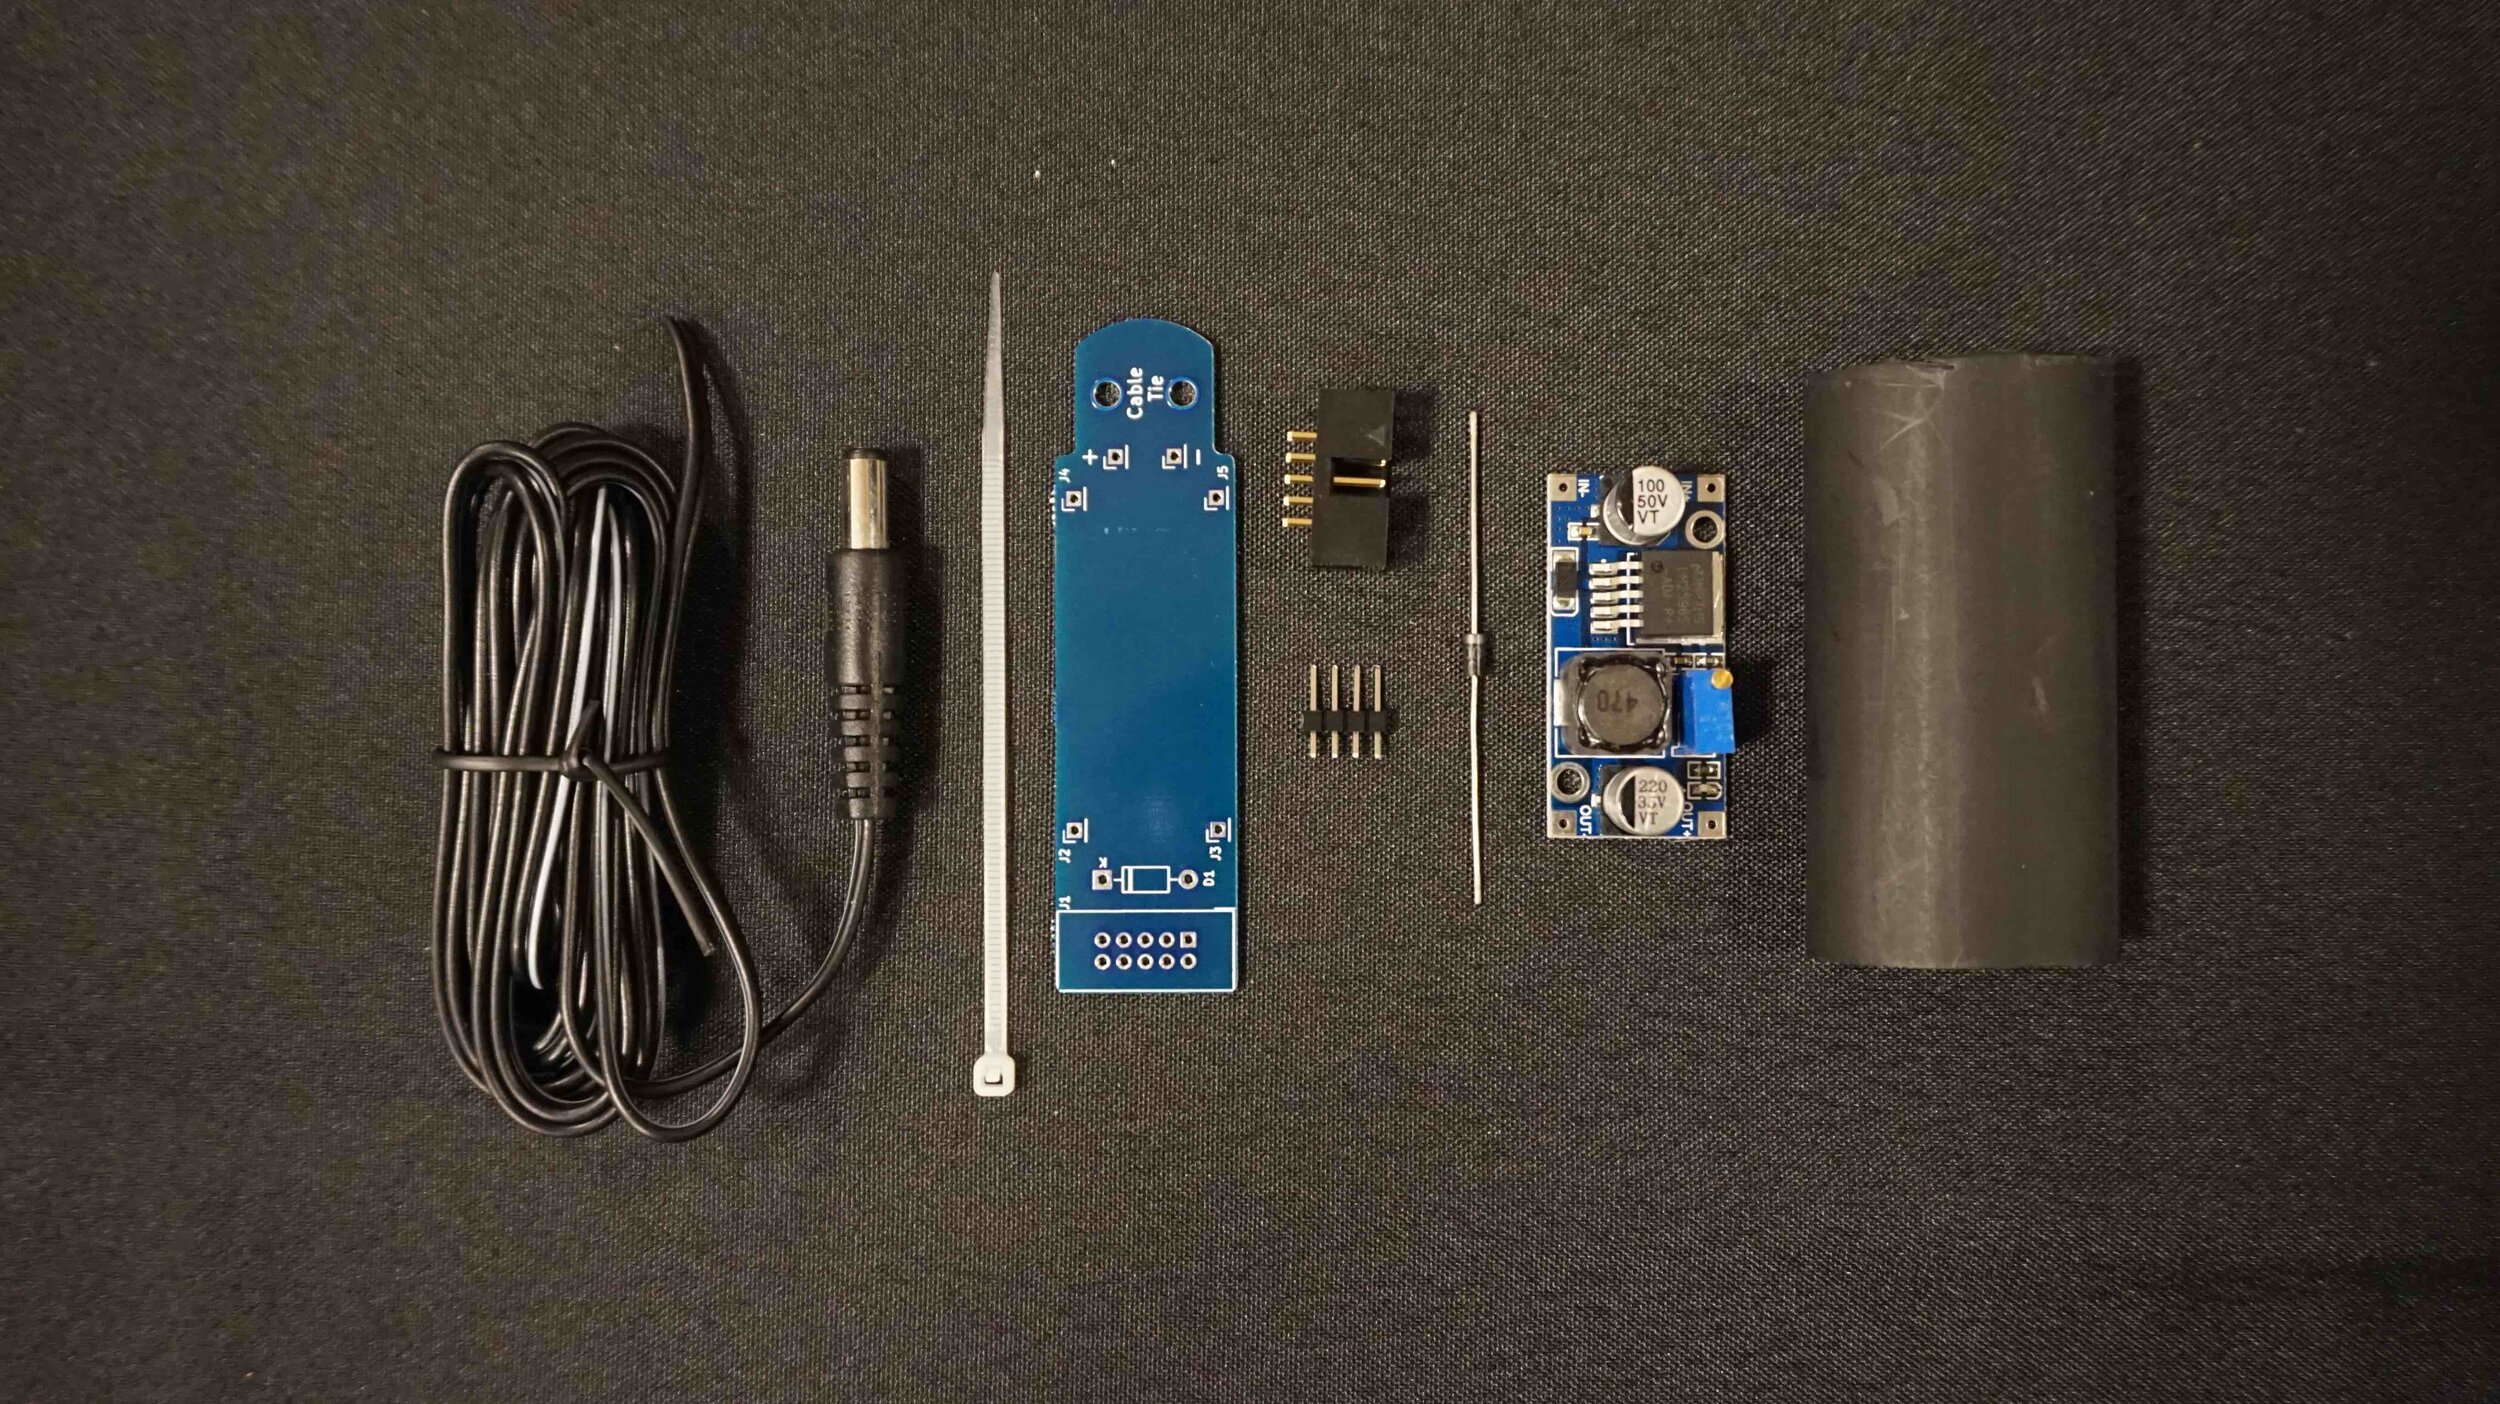
Kit Contents
The kit contains all you need to put together a working Power Bug.
Elk Elektronik Power Bug PCB
DC/DC converter
10 Pin Shrouded Header
Moulded DC Barrel Jack with cable (Straight or Right Angle)
Cable Tie
Heat shrink
4 Way header
Diode

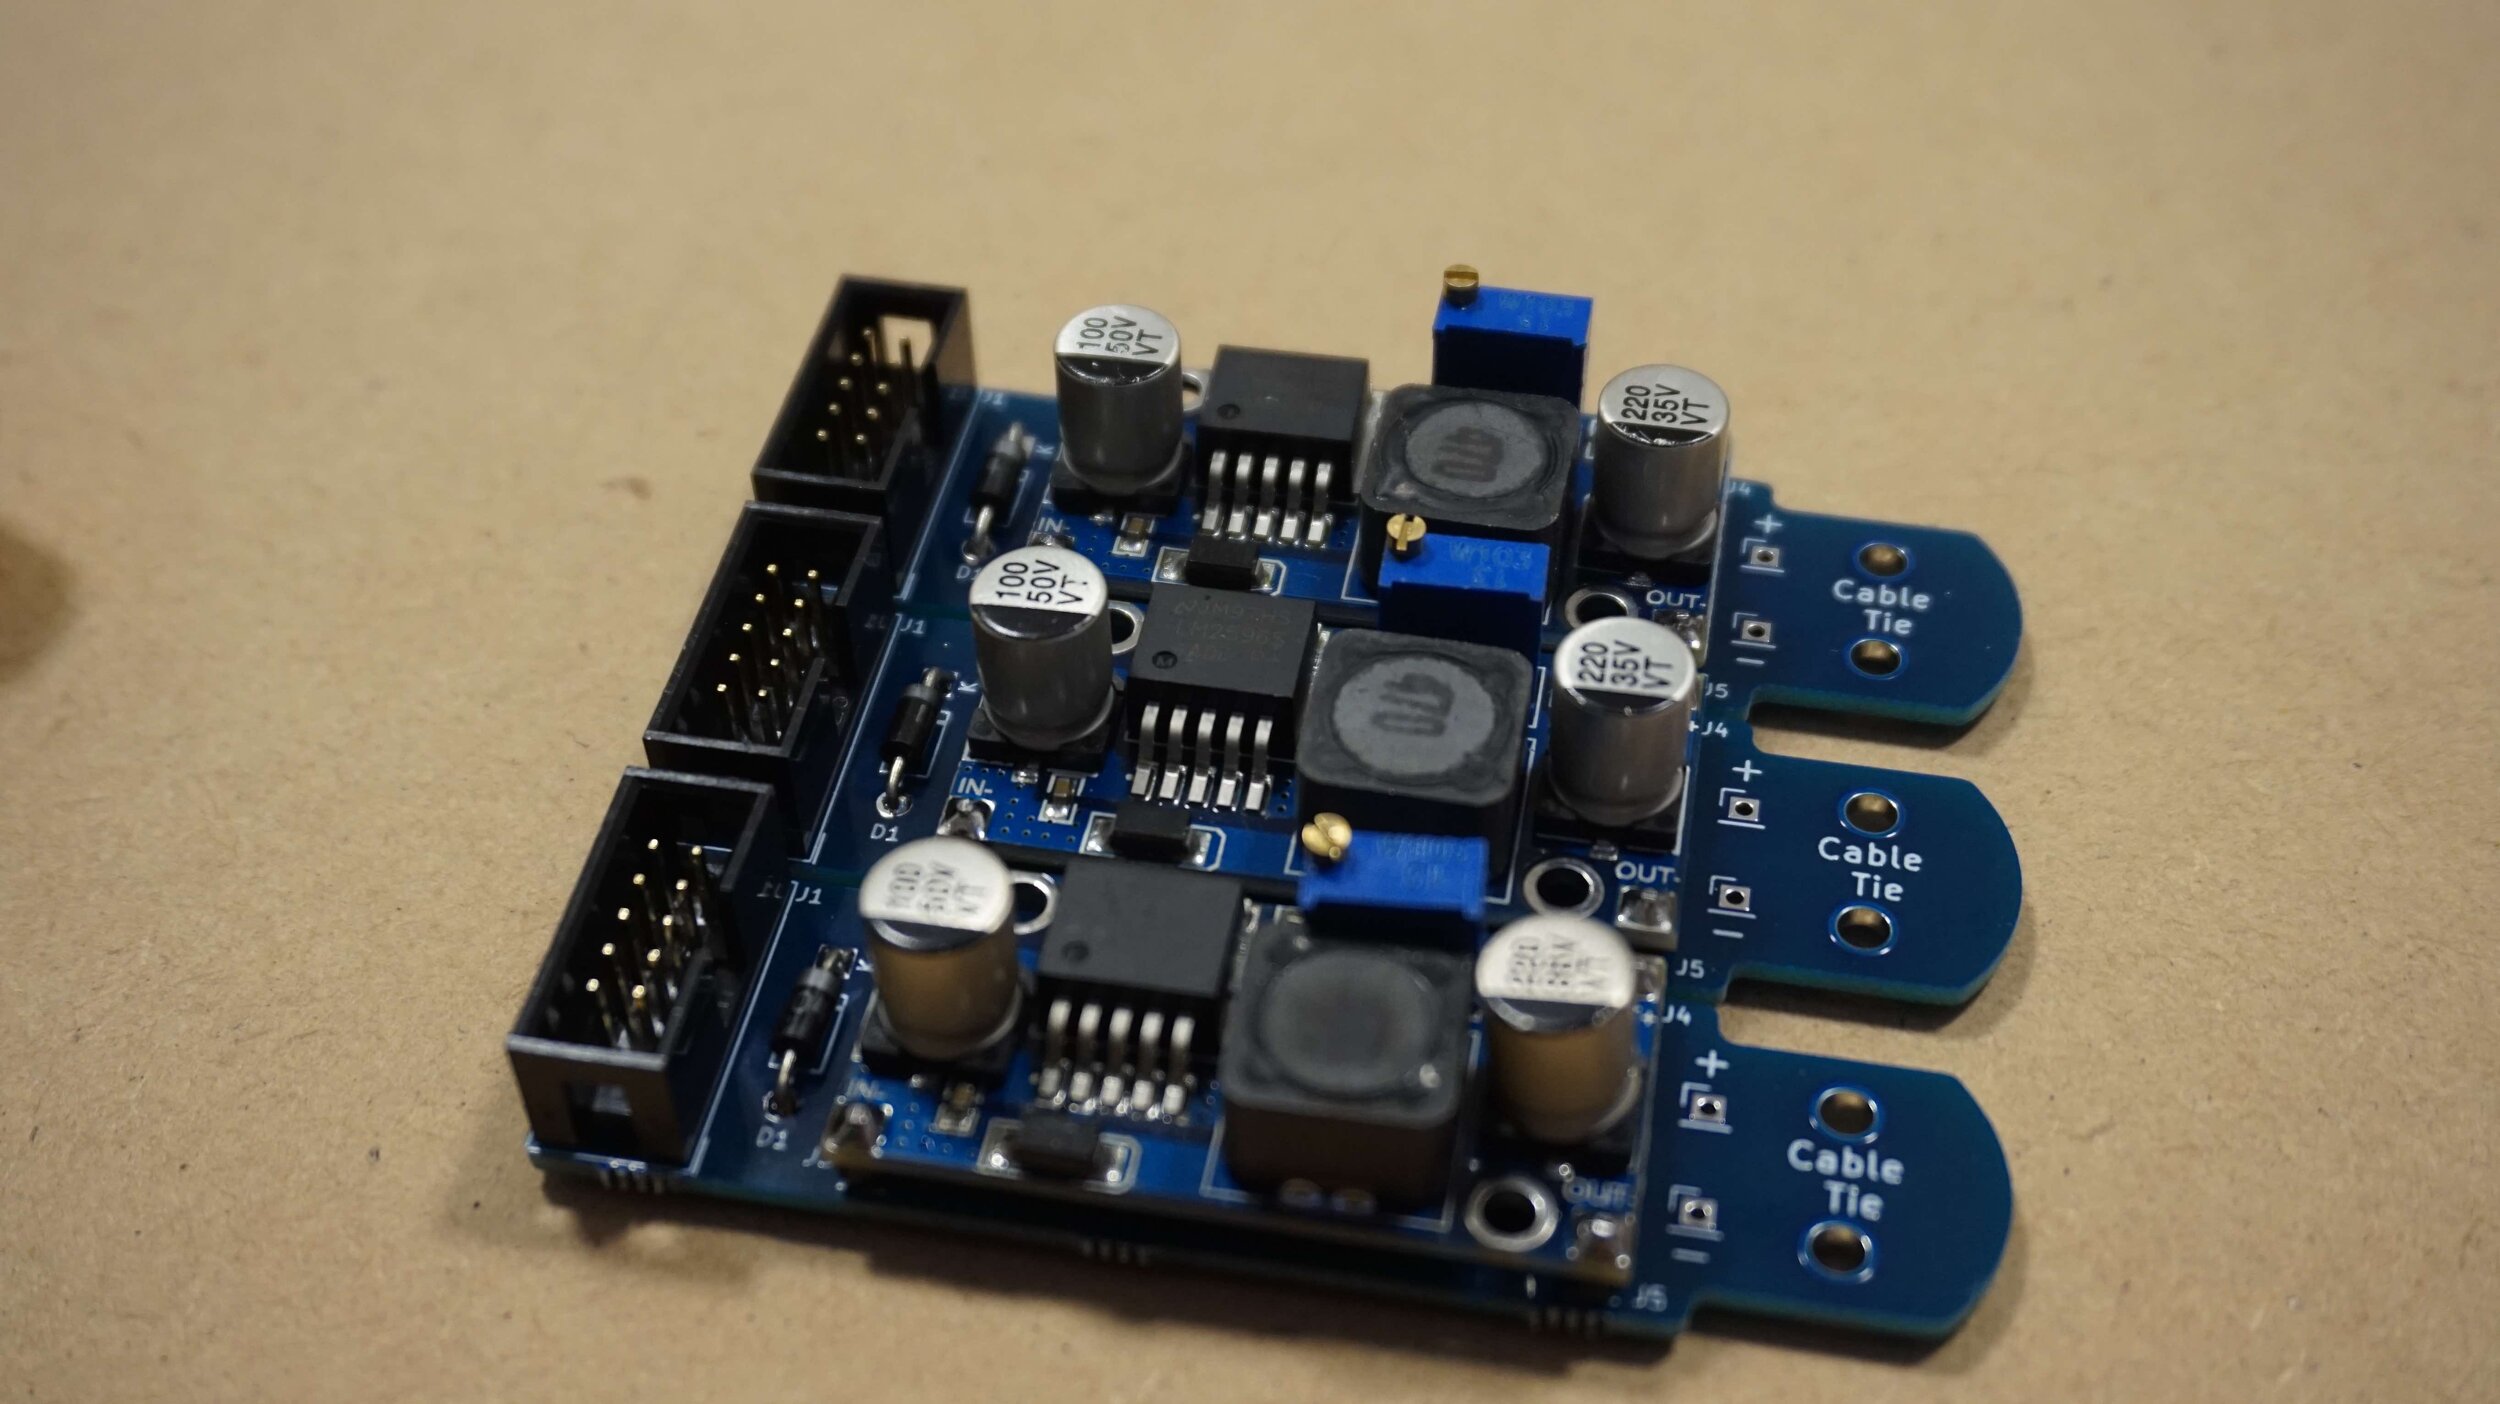
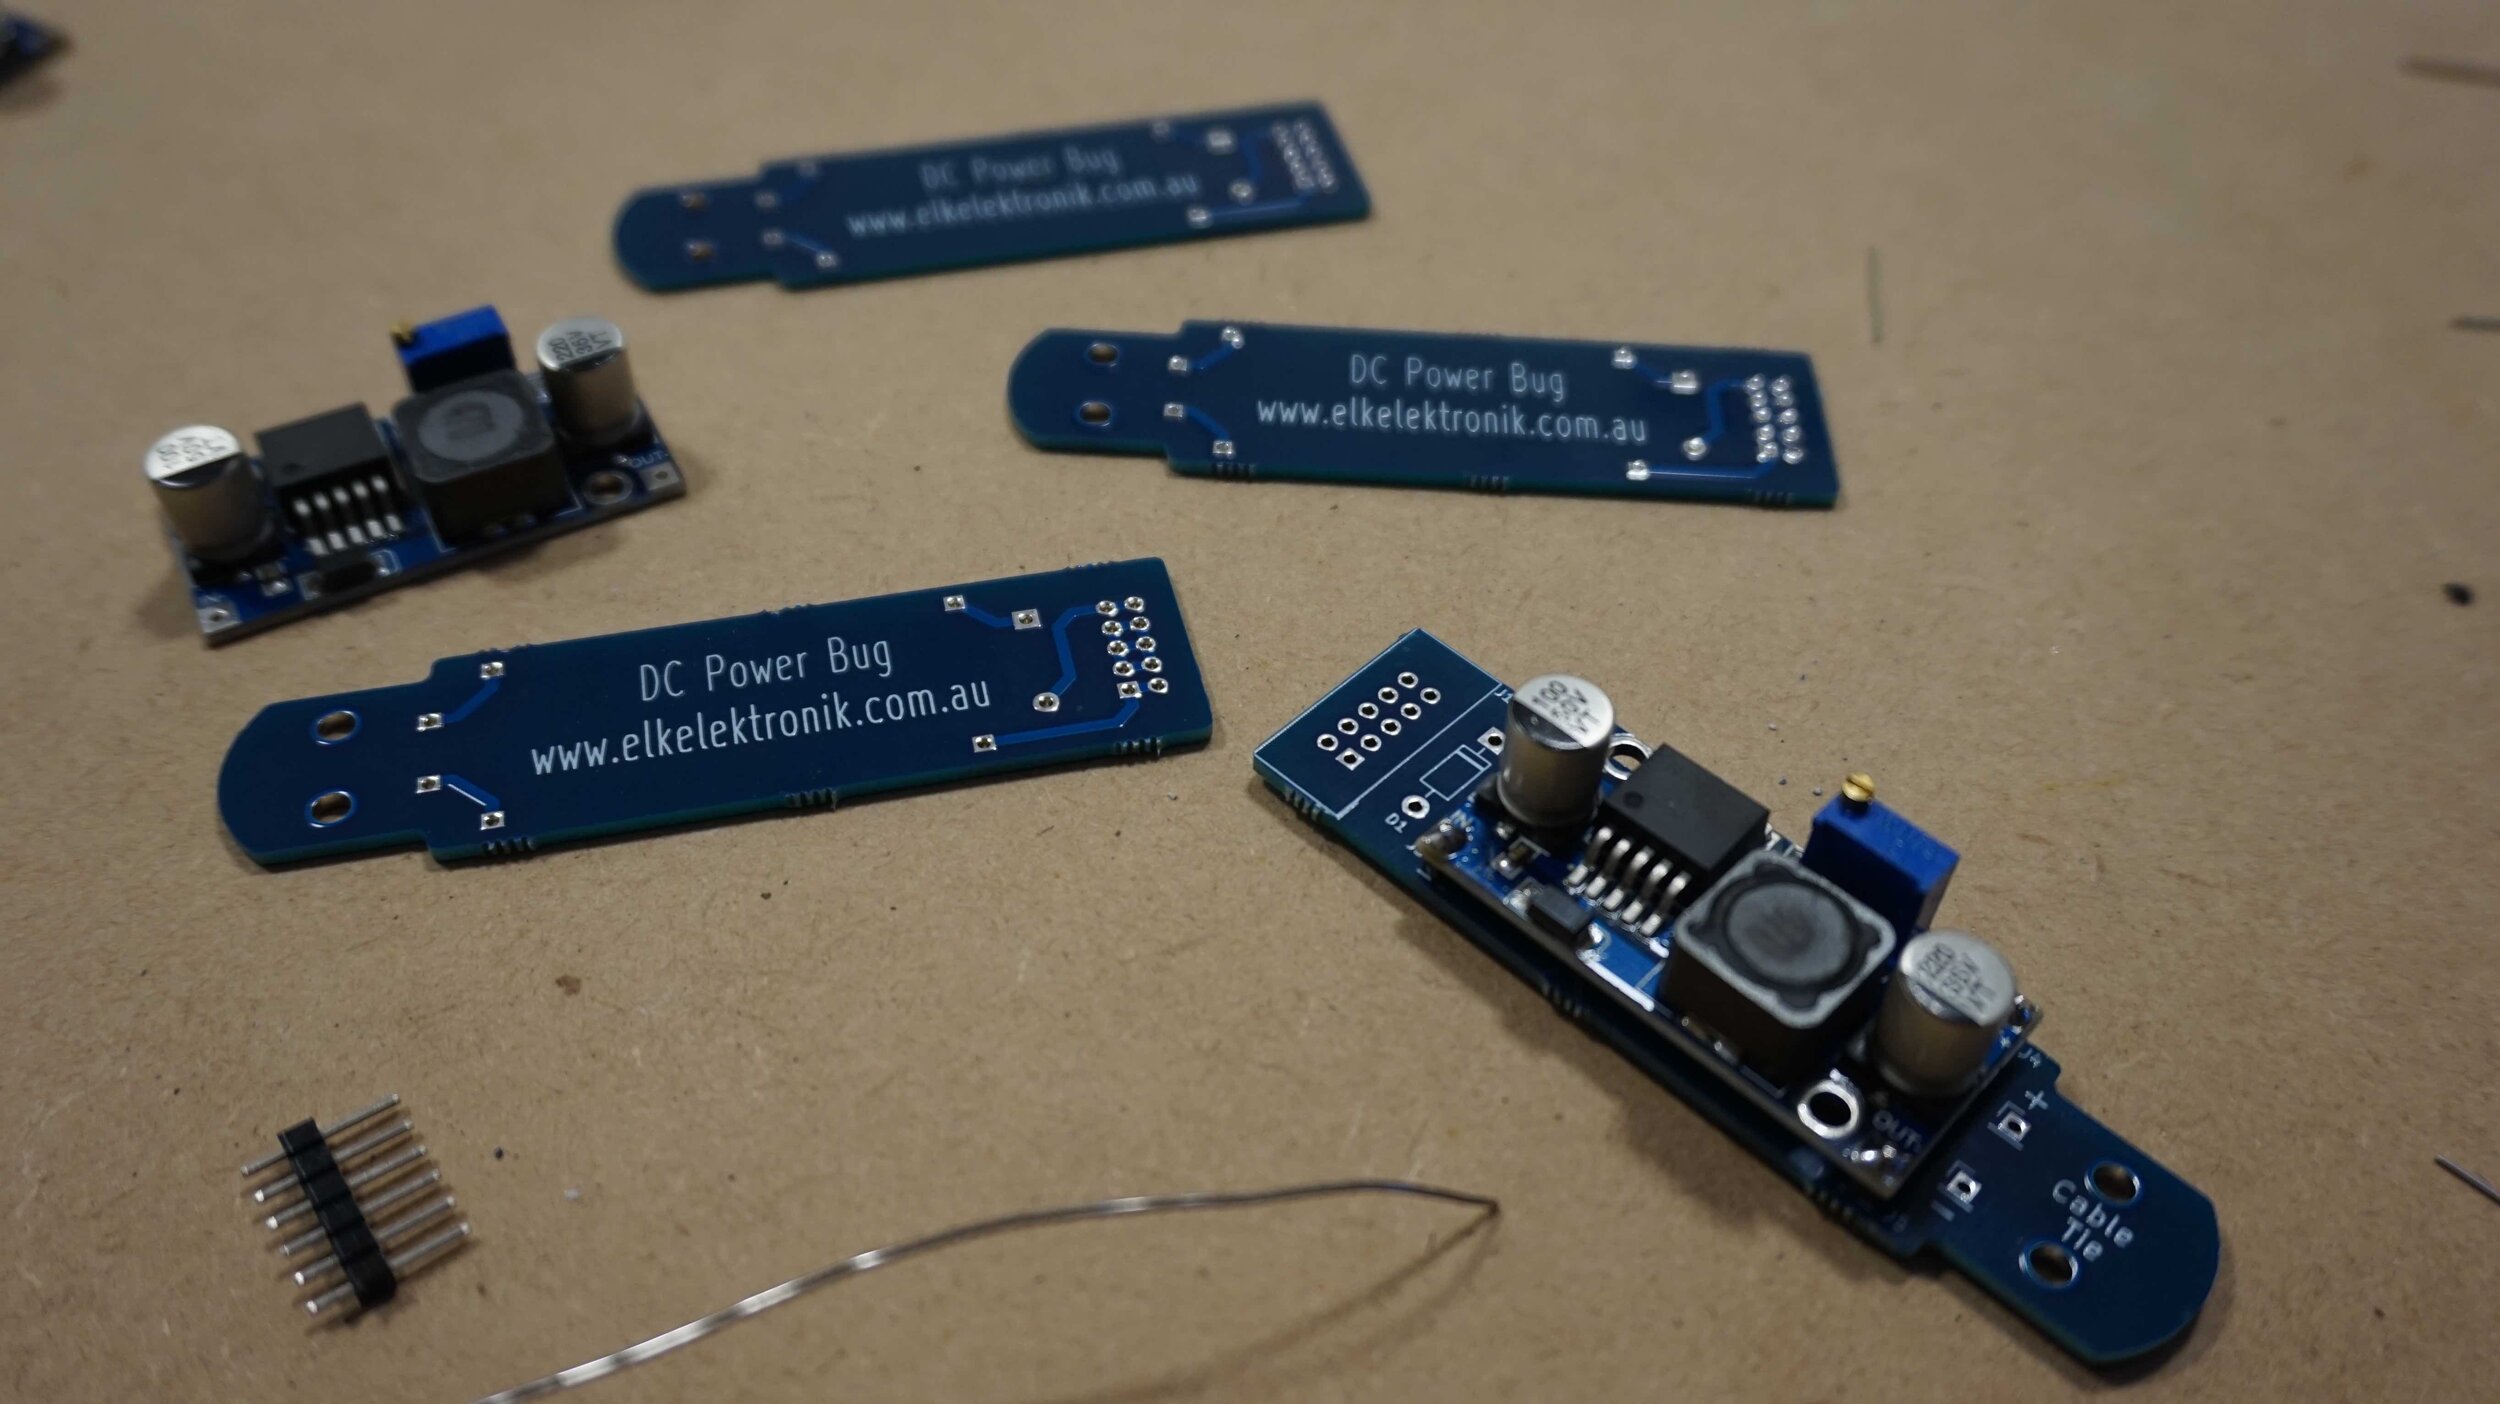
Put it Together
Solder the parts to the PCB
Diode
Cut the header into individual pins and insert one into each hole on the adapter PCB which correspond with the holes on the DC/DC converter
Solder the DC/DC converter onto the pins
Solder the 10 Pin Header
Leave the output wires disconnected for now. Let’s measure and set the output voltage first.

Set the output Voltage
The output voltage is continuously variable between approximately 0-24VDC. Make sure you set the correct voltage for your intended application!
Measure the output with a multimeter and turn the potentiometer until you reach your desired output voltage.

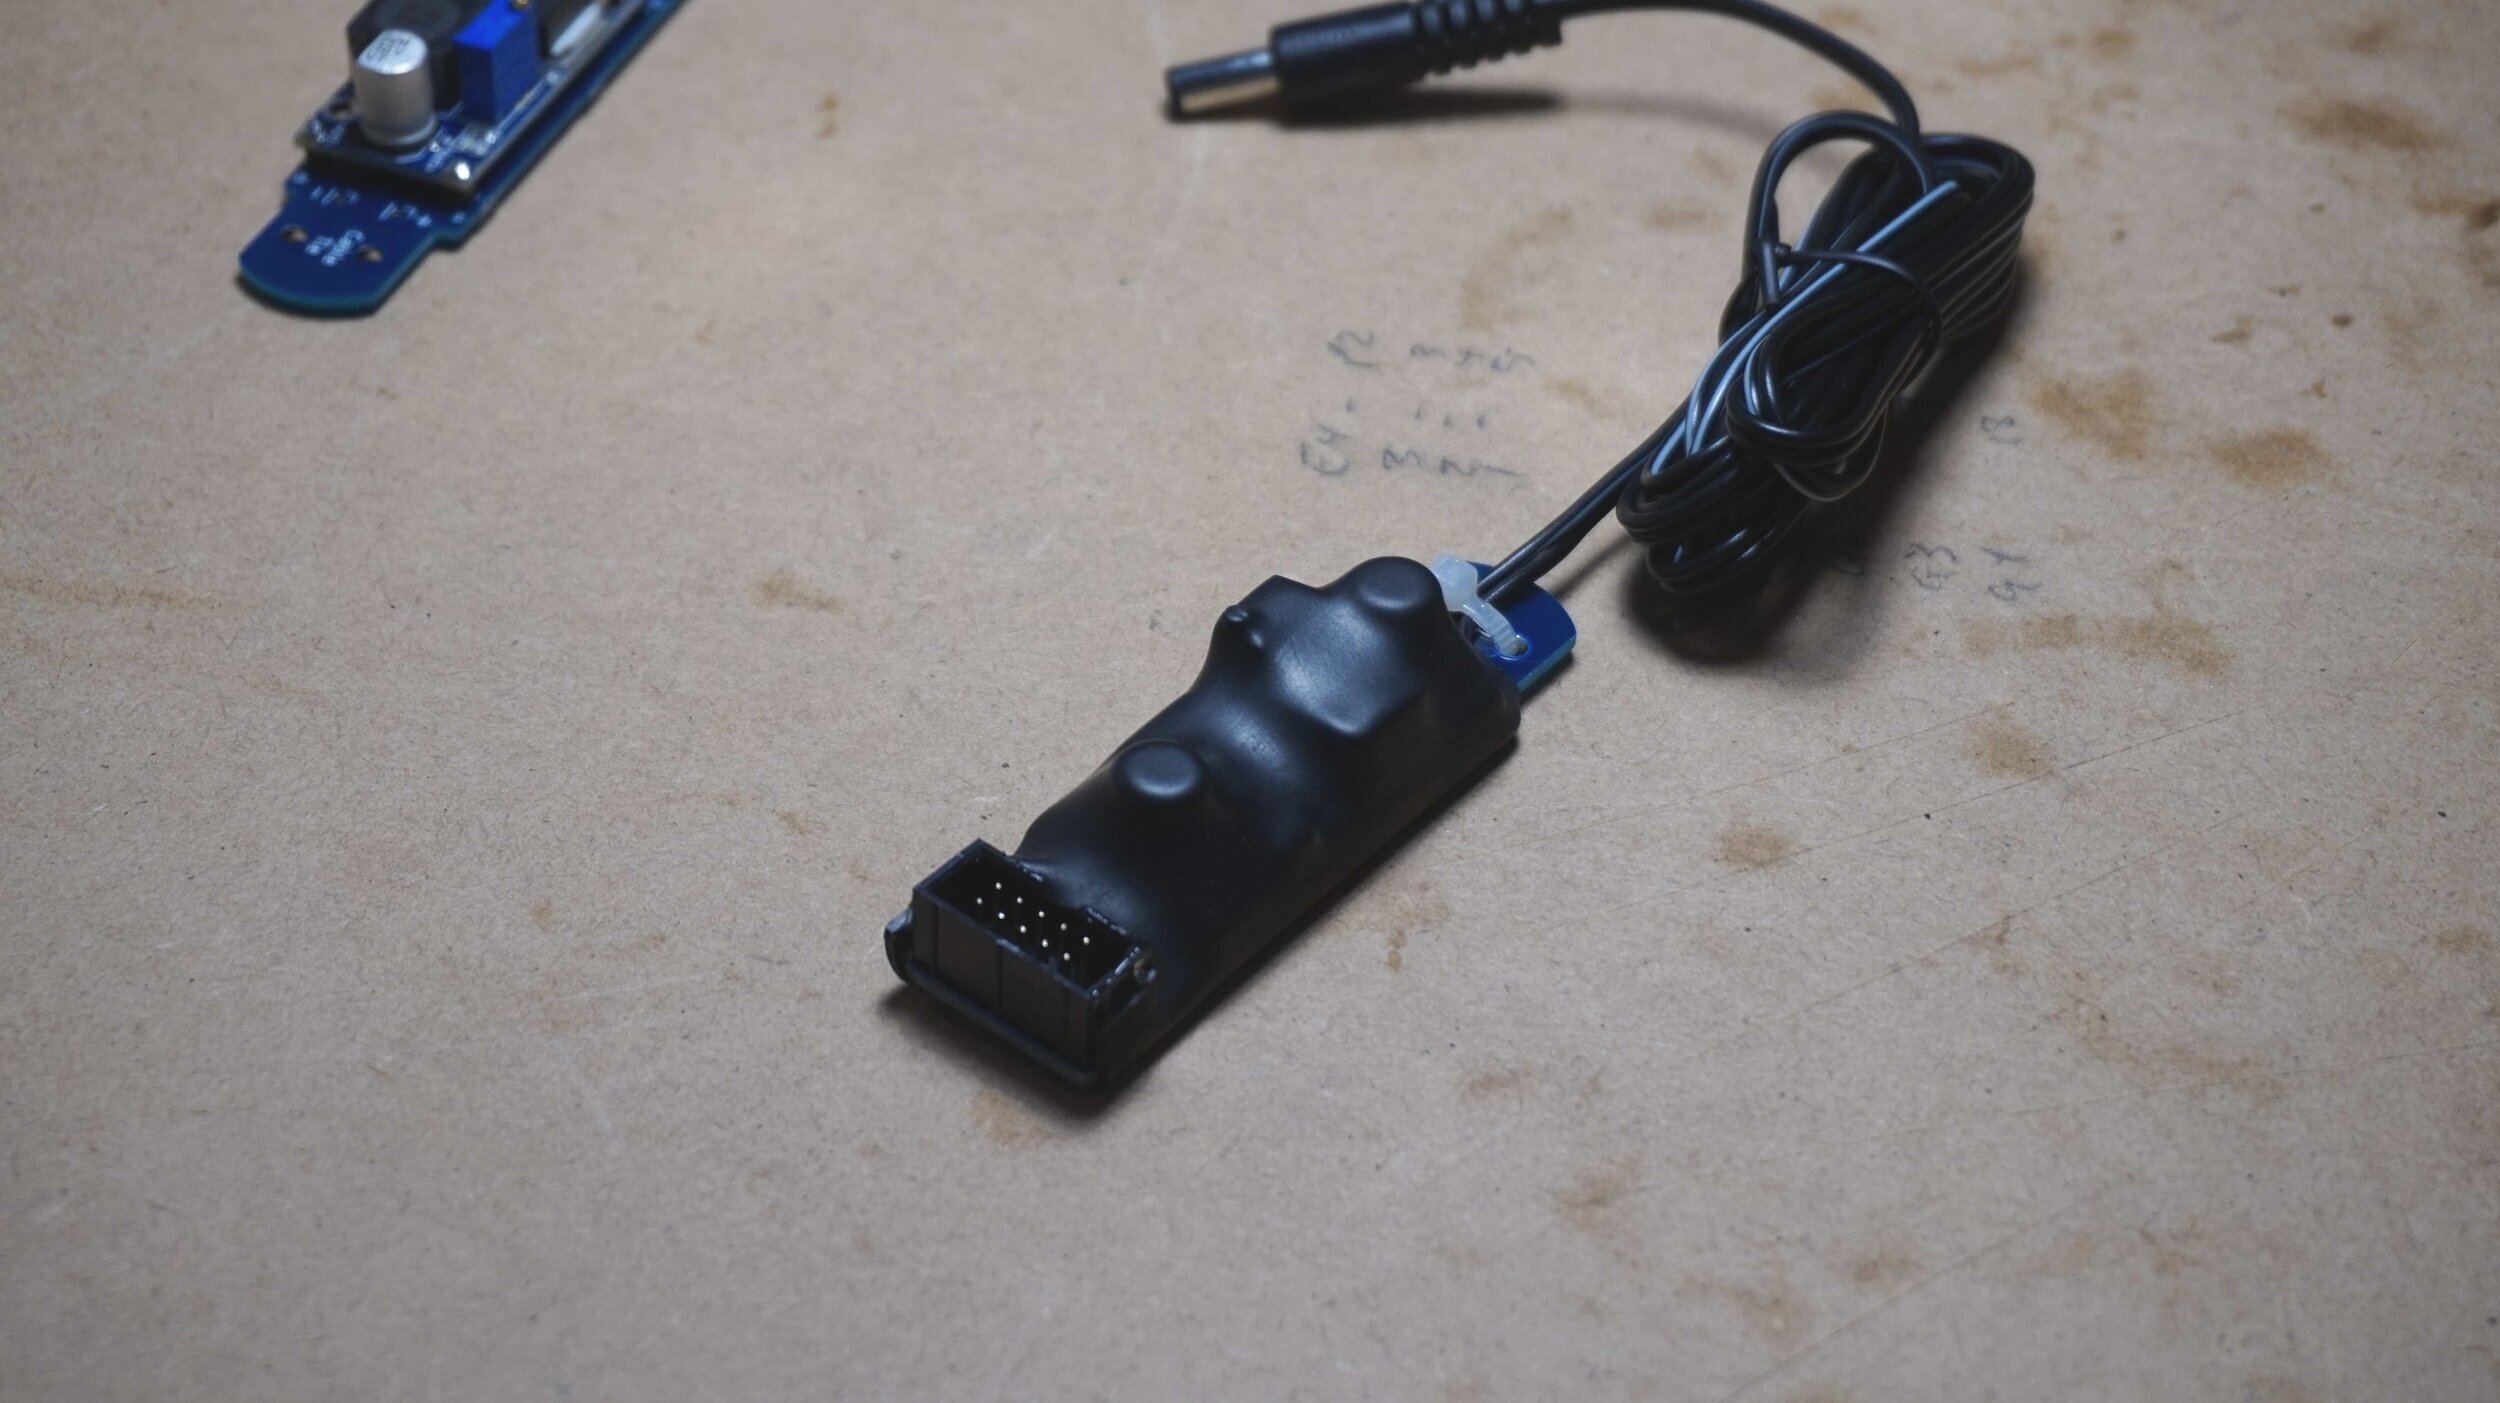
Finish It Up
Once the output voltage is set:
Set the DC Barrel Plug polarity by wiring it up to the output. Check it with a multimeter. If you need the opposite polarity, swap the wires on the output terminals
Secure the DC output cable with a cable tie
Slide the board into the heat shrink and shrink it down with some hot air. This prevents the voltage from being adjusted and prevents the conductive parts of the board from touching other things
Once it has cooled, cut around the top of the 10 Pin header with a hobby knife to expose the pins
Heat it one more time to clean up your cut edges